01
Fast installation
Installed in minutes — saves time on site and noticeably reduces installation costs per module.

Aluminium replacement tile as a single unit: remove clay tile, insert metal tile, close roof. Under 10 minutes per installation point, no cutting, no tile breakage.

Under 10 minutes per installation point — when all parts are ready. Full written guide right here; PDF available for download at the bottom of the page.
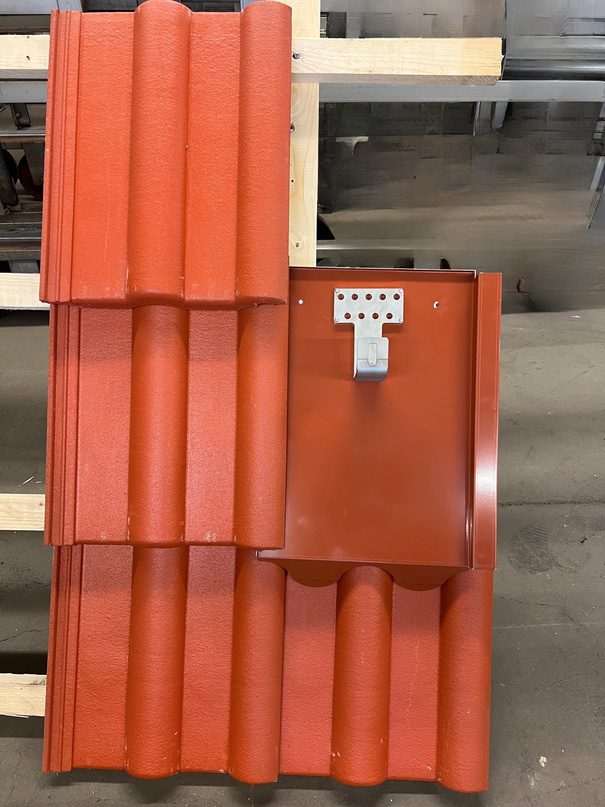
Remove the clay tile at the intended installation position. Slide the overlapping tile upwards to expose the rafter.
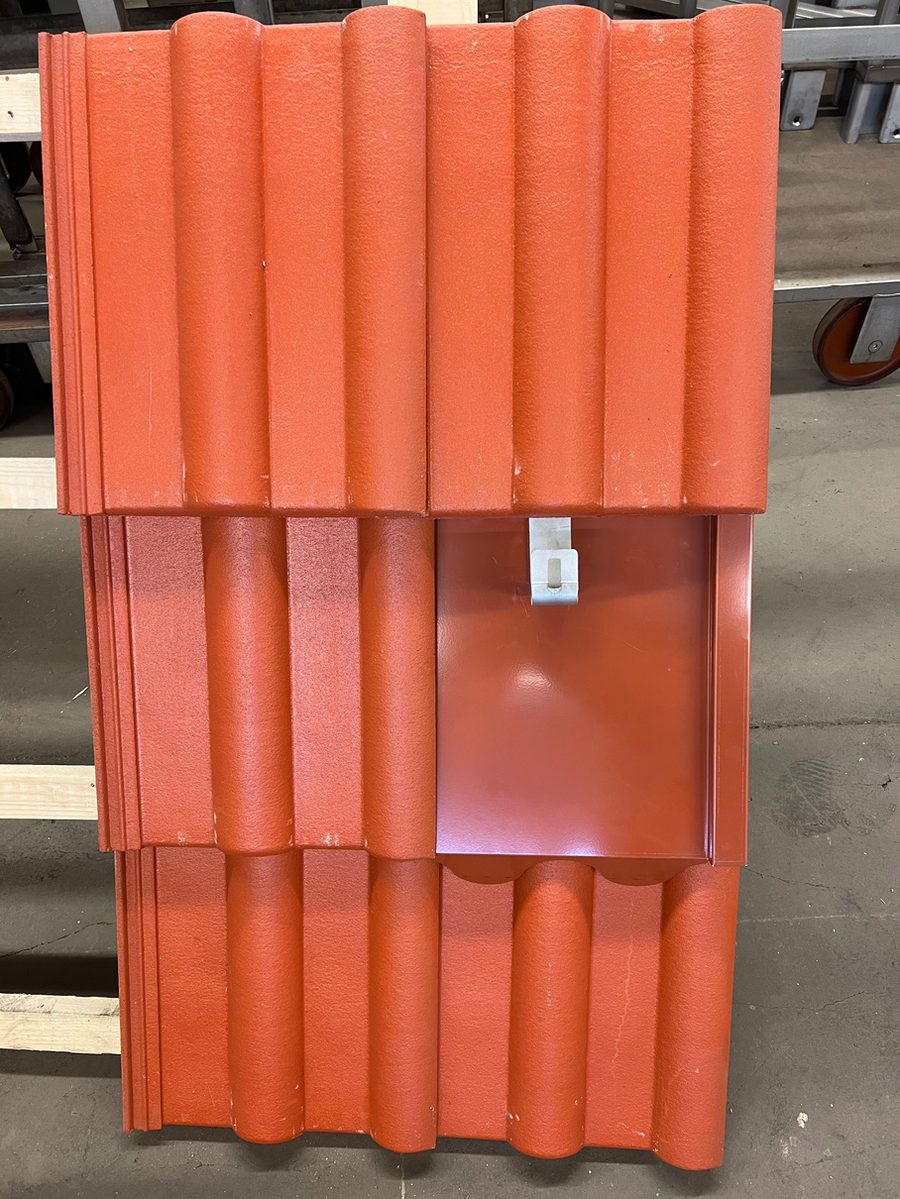
Place the aluminium replacement tile where the clay tile was. Secure it with two to three screws. Stick the self-adhesive foam sealing wedge to the top of the replacement tile to prevent insects and dirt from entering.
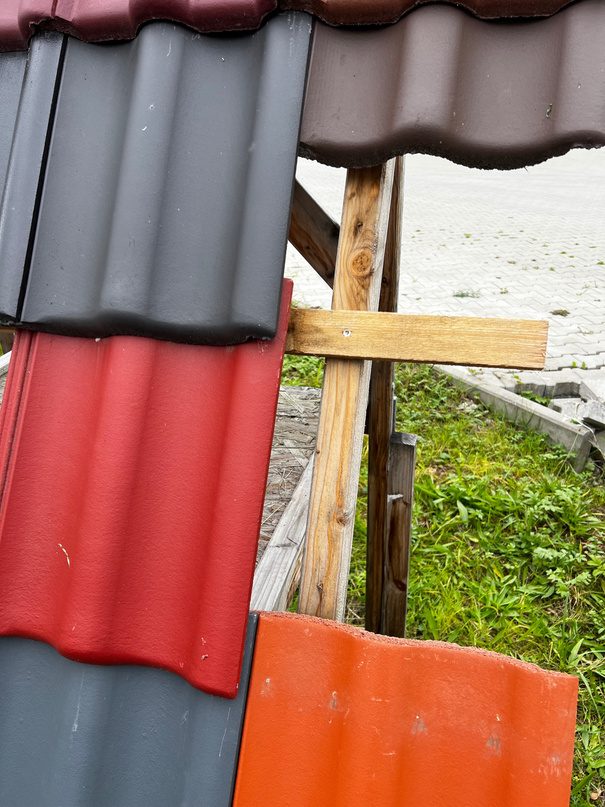
Slide the overlapping clay tile back down. Done. Note: The replacement tile may be positioned up to 15 cm from the vertical rafter.
Five solid advantages that make a difference on every job.
Less tile breakage, a clean seal at the installation point, and a stable base for the roof hook — explained concisely.
A photo or measurements are enough — we identify the roof tile profile and recommend the right metal tile including roof hook. Response within 24 hours.