Installation Guide

Install metal roof tiles. With roof hook in 6 steps.

Aluminium replacement tile incl. roof hook installation: replace clay tiles, seal, screw roof hook to rafter — no cutting, no tile breakage.

6 Steps
Clear guide
Tested by roofers and DIY enthusiasts
< 10 Min.
Per installation point
incl. roof hook installation
No cutting
Cordless screwdriver only
Screws included
Aluminium-Blechziegel für PV-Dachmontage mit Dachhaken

How installation works

Under 10 minutes per installation point — when all parts are ready. Full written guide right here; PDF available for download at the bottom of the page.

  1. Schritt 1 — Tonziegel entfernen
    01

    Remove clay tile

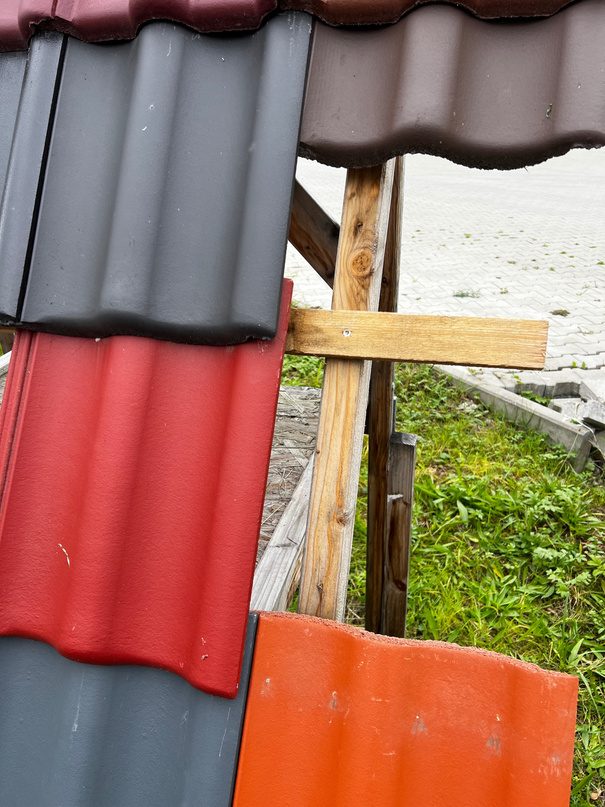
    Remove the clay tile at the intended installation position. Slide the overlapping tile upwards to expose the rafter. Take care not to damage the surrounding tiles.

  2. Schritt 2 — Ersatzziegel einsetzen
    02

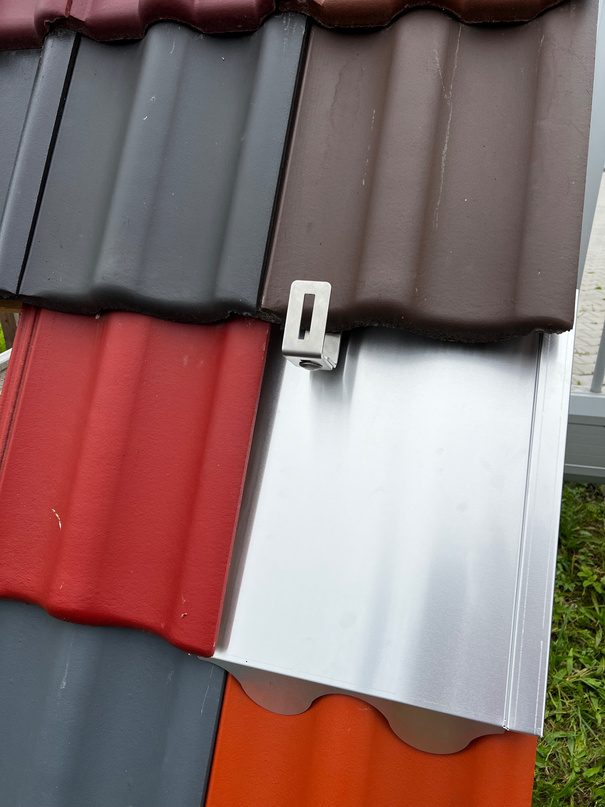
    Insert replacement tile

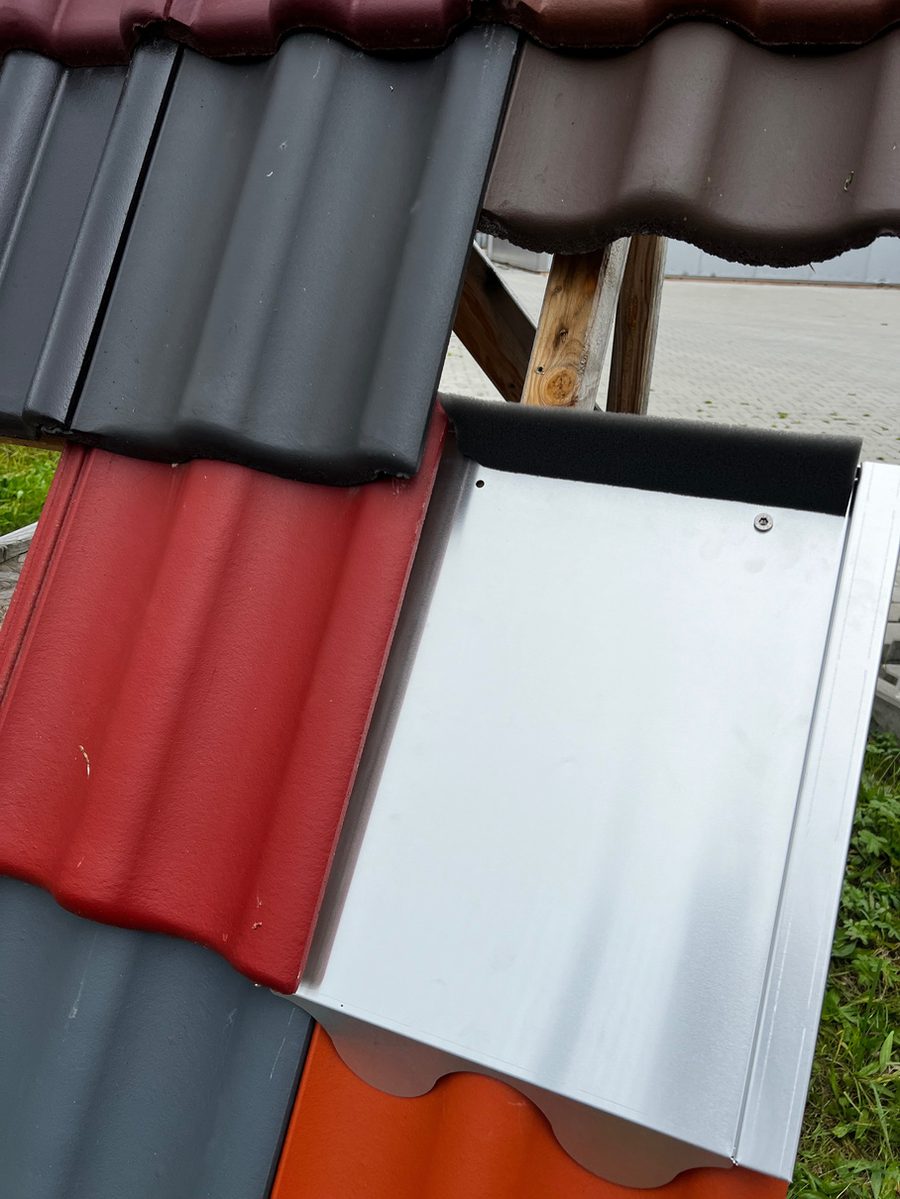
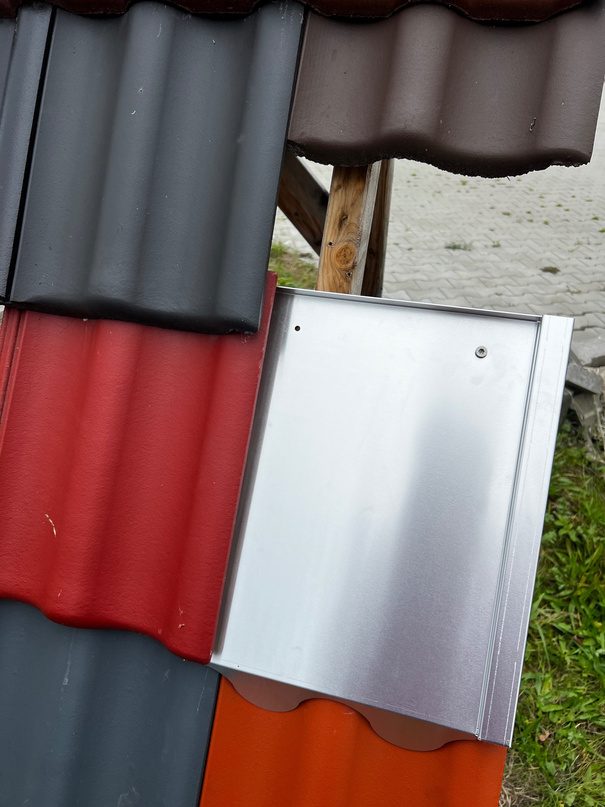
    Place the aluminium replacement tile where the clay tile was removed. For extra stability, you can secure it with one or two screws into the batten.

  3. Schritt 3 — Dichtkeil anbringen
    03

    Attach sealing wedge

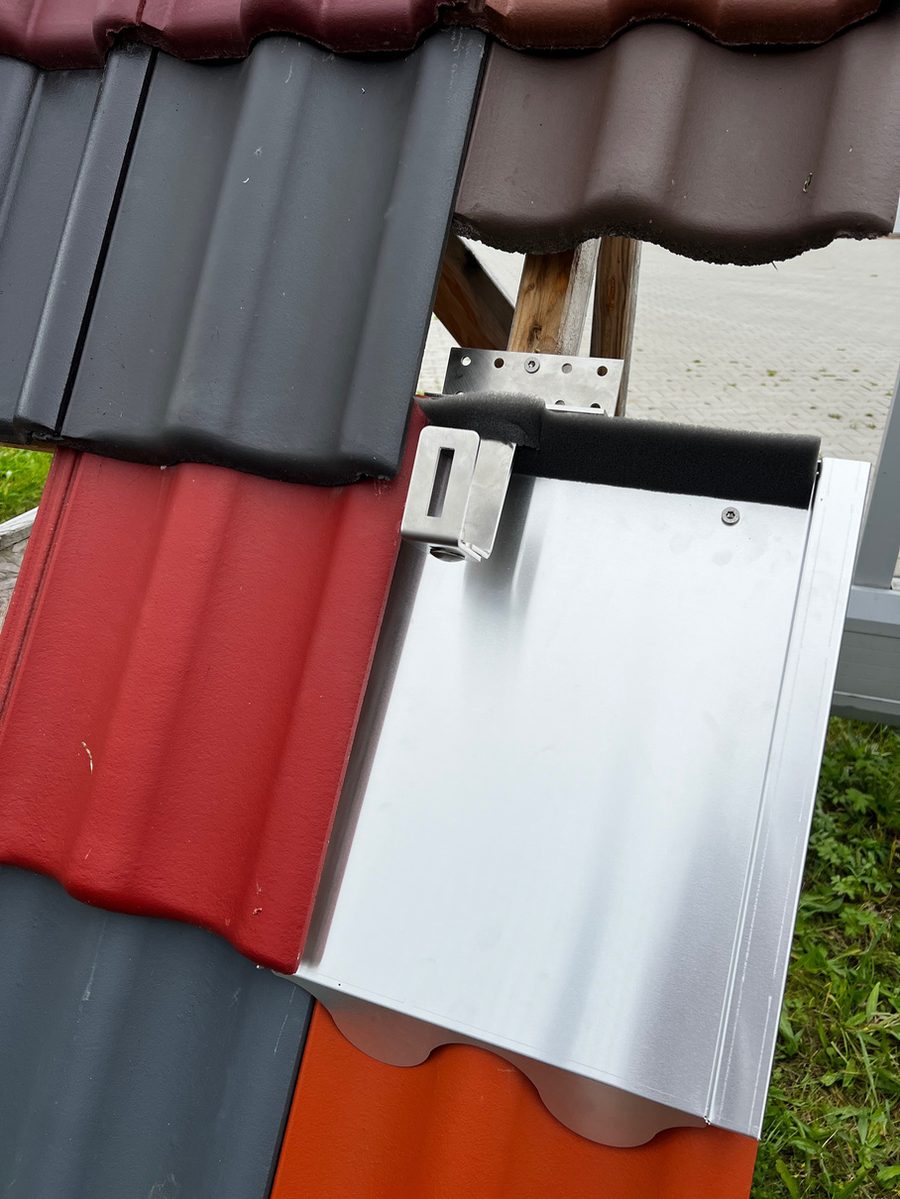
    Stick the self-adhesive foam sealing wedge to the top edge of the replacement tile. It seals the gap and prevents insects and dirt from entering.

  4. Schritt 4 — Dachhaken montieren
    04

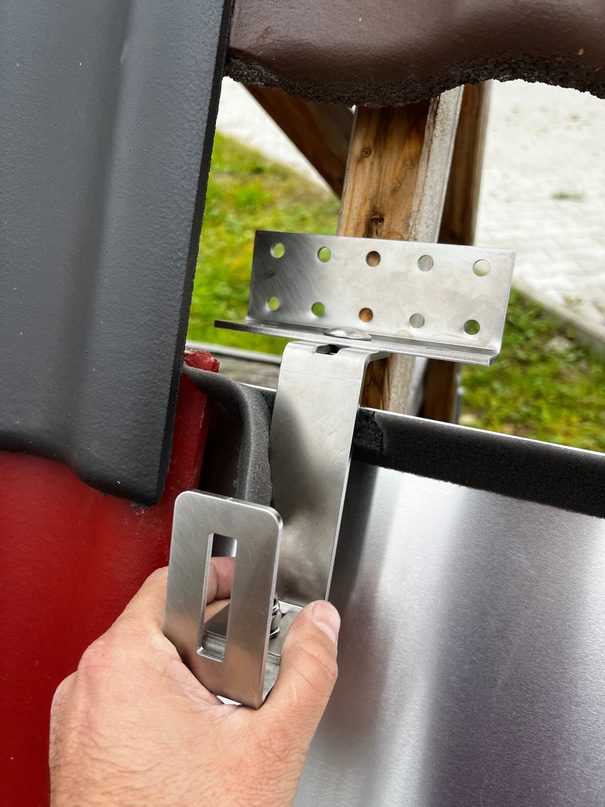
    Fit roof hook

    Cut the seal with an L-cut where the roof hook sits. Screw the roof hook directly onto the rafter using the supplied screws.

  5. Schritt 5 — Dichtung verschließen
    05

    Close the seal

    Fold the seal over the fitted hook to fully seal the penetration and protect it from the weather.

  6. Schritt 6 — Dach schließen
    06

    Close the roof

    Slide the overlapping clay tile back into its original position. The roof is now fully closed. Installation is complete.

Tip
After installation, check that all tiles are firmly in place and the seals are properly seated. This ensures your roof stays watertight in the long term.

Why the aluminium replacement tile is the right choice

Five solid advantages that make a difference on every job.

01
Fast installation
Installed in minutes — saves time on site and noticeably reduces installation costs per module.
02
No tile breakage
The clay tile is replaced, not drilled. No cracks, no breakage risk, no warranty issues with the tile manufacturer.
03
Clean seal
Integrated sealing wedge and flap protect against water, leaves, and insects — permanently, without reworking.
04
PV installation without risk
The roof hook sits directly on the rafter — maximum stability for solar modules, tested load values for structural verification.
05
Made in Germany
Made from high-quality 1.0 mm aluminium, powder-coated. Durable, corrosion-resistant, and precisely matched to leading manufacturer profiles.

Why metal replacement tiles make sense for PV

Less tile breakage, a clean seal at the installation point, and a stable base for the roof hook — explained concisely.

Read the guide

Not sure about the model or installation?

A photo or measurements are enough — we identify the roof tile profile and recommend the right metal tile including roof hook. Response within 24 hours.